How to Fit LVT (Luxury Vinyl Tile) Flooring the Right Way – Step by Step
🛠️ How to Fit LVT (Luxury Vinyl Tile) Flooring the Right Way – Step by Step
Luxury Vinyl Tile (LVT) is a fantastic choice for modern homes – it’s stylish, durable, and water-resistant. But to get that showroom-quality finish, correct installation is key.
Here’s a professional guide on how to fit LVT flooring properly:
✅ 1. Prepare the Subfloor
LVT needs a smooth, clean, and dry surface.
- Remove old flooring and sweep away all dust and debris.
- Repair any uneven areas or cracks.
- If using a glue-down LVT, consider applying a floor primer or self-levelling compound.
✅ 2. Acclimate the LVT Planks
Let the LVT packs rest in the room for 48 hours to adjust to temperature and humidity. This avoids expansion or contraction after fitting.
✅ 3. Plan Your Layout
- Always start from the center or main light source direction.
- Dry-lay a row to check spacing and avoid thin slivers at the walls.
- Use spacers to leave a small 2–5mm expansion gap around edges.
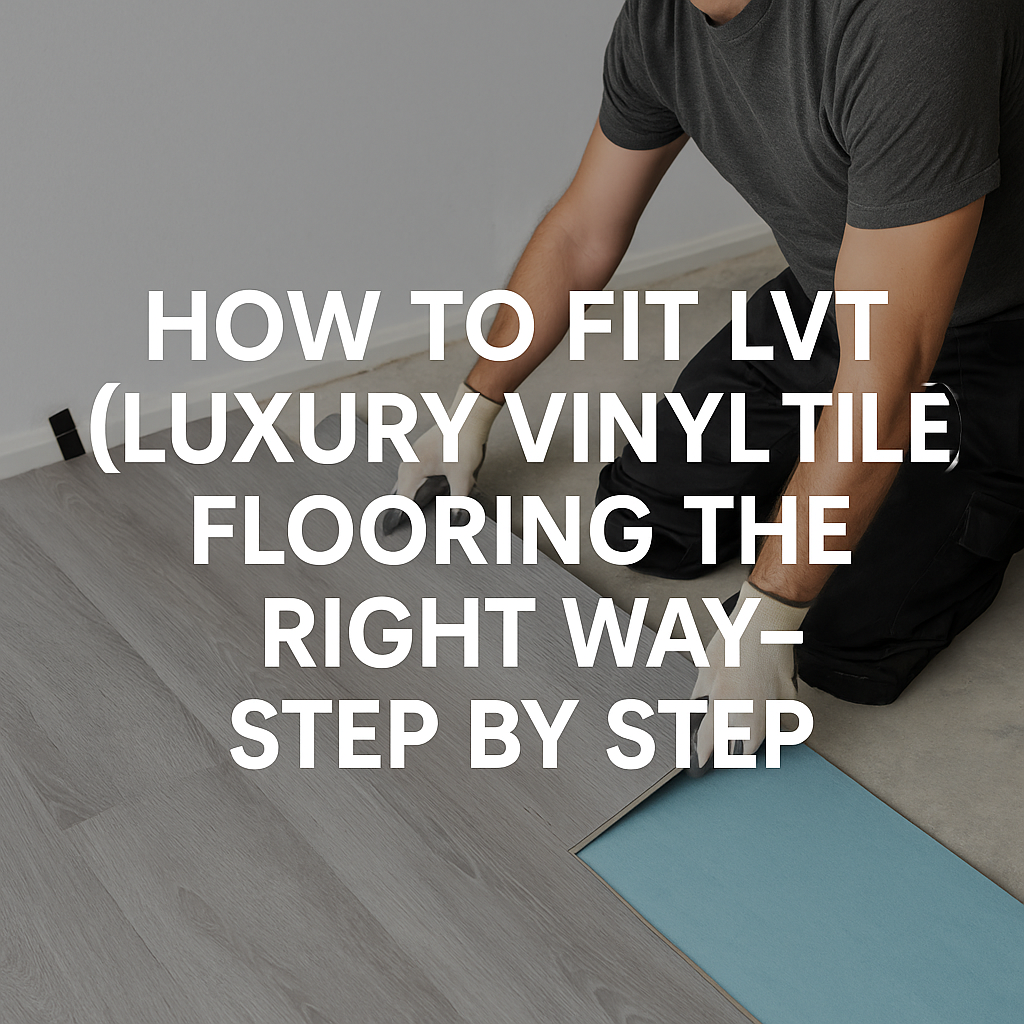
✅ 4. Install the LVT
Click System LVT (Floating):
- Start in a corner with the groove side facing the wall.
- Click each plank together tightly at a slight angle.
- Use a tapping block and pull bar to ensure snug fit.
Glue Down LVT:
- Apply pressure-sensitive adhesive or hard set glue evenly with a trowel.
- Lay planks carefully into position.
- Use a heavy roller to press planks down firmly.
✅ 5. Cut Edges and Around Obstacles
- Use a sharp utility knife to score and snap planks.
- For curves or awkward cuts (pipes, door frames), use a contour tool or heat gun for flexibility.
✅ 6. Finish the Floor
- Remove spacers and fit edge trims or scotia.
- Avoid mopping or heavy use for 24 hours to allow the floor to settle (especially for glue-down).
🎯 Pro Tip:
If unsure, always hire a professional – LVT may look easy but mistakes can be costly.
Need expert LVT fitting?
Book My Carpet offers a full mobile flooring service across you region.
📞 Call us today for a free quote or sample visit.